Well, the 1st of June already, and obviously a new Clarity Challenge for you all.
I think we all know how challenging (excuse the pun) masculine cards can be, but hopefully you all have enough stamps and stencils to make this one a breeze....so here we go for the Boys.......
For my card, I used the following ingredients:
8 x 8 blank greeting card & a piece of 7 x 7 Gelli card
Shaving foam - the cheaper, the better, Perspex box lid, Spreading Tool and a skewer or fork
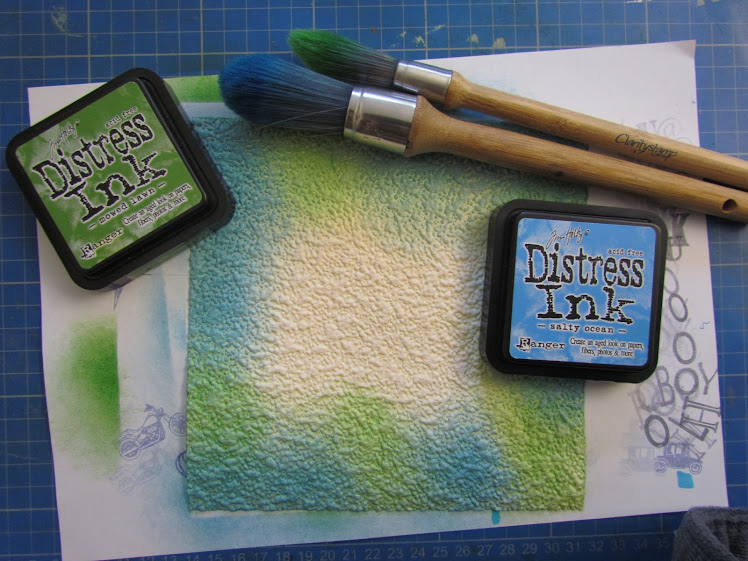
Tim Holtz Re-inkers - Broken China, Mustard Seed & Mowed Lawn
Also Salty Ocean & Mowed Grass Distress Ink pads
Ranger Archival inks Black & Cobalt
Brick Wall & California Stencils
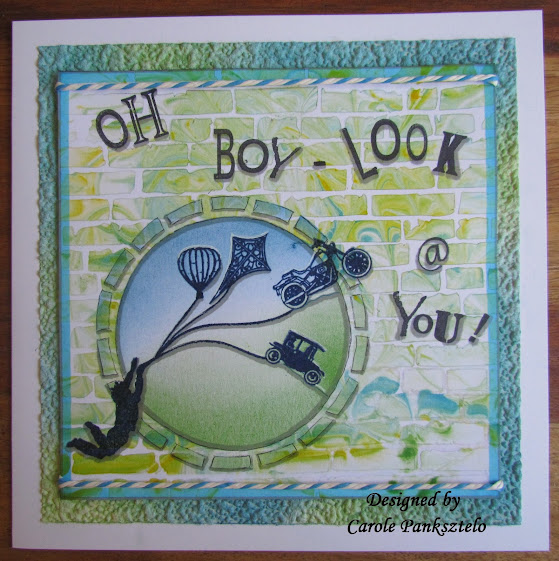
Stamps - Boy & Birds & various small ones from Victorian Miniatures (the car & motorbike), Wrought Iron Dolls House, Small Hot Air Balloon & various Word Chain words masked off to create my "Oh Boy - Look @ You!"
Clarity Stencil Brushes
Cyan Promarker & Sharpie pen
Textured wallpaper scrap, (courtesy of Wicks)
First & foremost, make a cuppa, we could be here for some time.......!

Spray the shaving foam into the plastic lid big enough to take the 7x7 piece of card and spread so that it was fairly flat. I then randomly dripped in the inks and whirled a wooden skewer through it to mix the colours up a little.

(Now I know from experience that the first dunk is quite bright, so I thought I would take another piece of card to use at a later date - I'll show you further on the two examples side-by-side to give you an idea).
Fix the circular part of the California stencil far enough in so that the Boy & Birds will fit to the lower left of the card, and place the Brick Wall Stencil over the top and tape it down tight to stop it moving. Place the piece of Gelli card stencil-side-down into the shaving foam and press evenly. Gently lift out and place direct onto the craft mat to scrape the excess foam off using the Spreading Tool. Once done, wipe your work with a piece of clean kitchen roll.

Here's the first & second dunks so that you can see the difference

Wait for this to dry completely before starting to stamp onto the card.
Dust with talc as the next part is to emboss the main image. Mask off the birds then ink up the Boy & Birds using the Cobalt Archival ink - don't forget to remove the masking tape before stamping!

Emboss with clear powder and heat-set. Next stamp the miniature stamps on the end of each string and emboss in the same way. I chose words from the Word Chains that contained letters to make up the sentiment, then laid them onto the artwork to see what best fitted with the design. I masked off and stamped accordingly as shown, in Black Archival ink.

Next I took the outer part of the Californian stencil and taped it over the circular area to brush through with Salty Ocean and Mowed Grass inks

Once done, I removed the masks, added shadow to the whole piece, then outlined it with a Cyan Promarker and put some contrasting twine across the top & bottom, cellotaped on the underside.

Finally - we all like a freebie don't we? Last time I went to the DIY store, I decided to look at the wallpapers and thought that the heavy duty anaglypta was perfect for using as backing paper as you can colour co-ordinate to suit your project. Probably not everyone's cup of tea, but I like it. Cut to size and brush randomly with the Distress Inks.
Mount the anaglypta on the base card, put mounting foam pads on the artwork (as it won't lay flat due to the twine attached on the underside), and mount.
Well, that's about it folks - the finished article.....and I hope you enjoyed your cuppa too!
Hopefully you'll find this, and the other DT blogs inspiring, and I look forward to viewing and commenting on your creations over the coming month.
Go on then, get your thinking caps on......Happy crafting folks! xxx